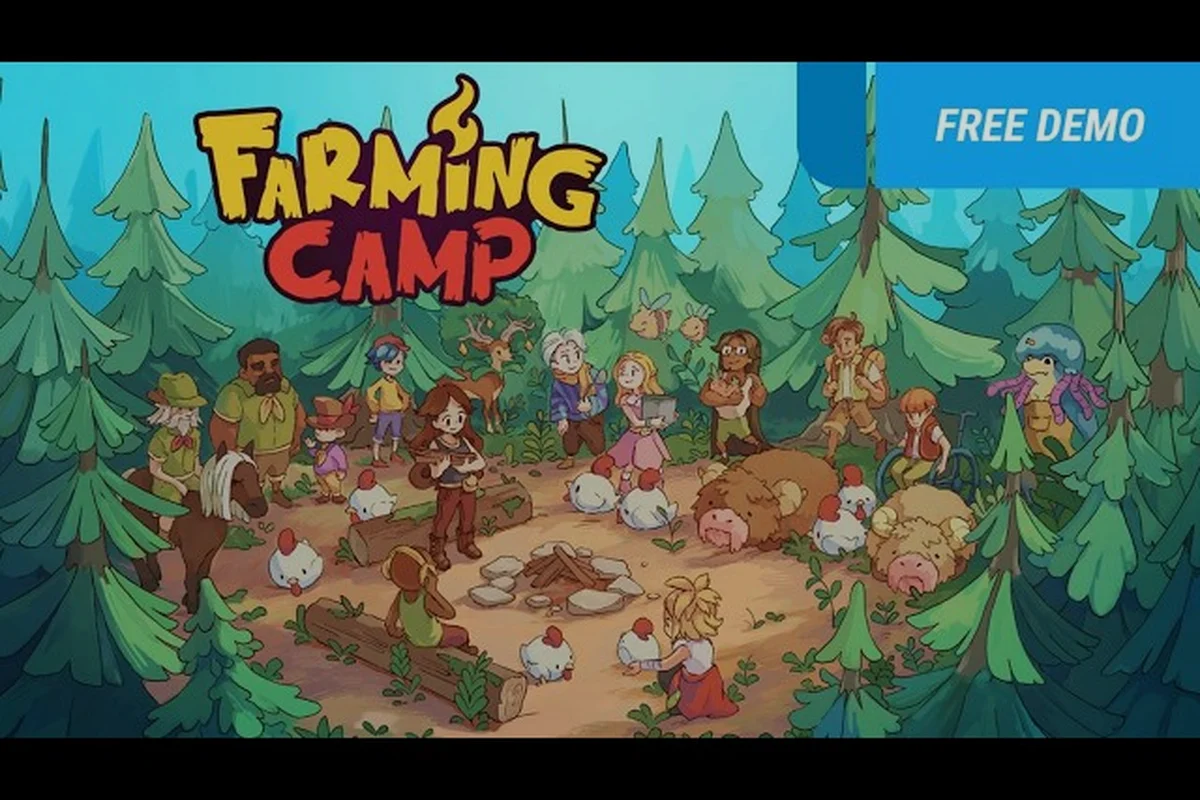
Every camp session at Evertree Farming Camp is stitched together by a chain of minigame unlocks, and understanding that chain turns a slow first day into a steady rhythm of contest wins. Released on 24 September 2026 by Innerfire Studios and published by SOEDESCO, the title runs on Steam, PS5, PS4, Xbox Series X|S, and Nintendo Switch, and its session trailer breaks down exactly how minigames fill each daily cycle. The Steam community achievement page lists 25 trophies tied directly to cooking, chopping, and pest tasks, so the unlock path is not a hidden side system — it is the backbone of the camp schedule.
This guide focuses on the real unlock order for farming camp minigame unlocks, the contest stages that feed the best reward payouts, and the timer management habits that separate a mid-tier score from a gold-tier run. If you have ever watched a contest timer bleed out while you scrambled for ingredients, the sections below will show you the exact steps, the right recipes, and the right moment to switch tasks.
How the Minigame Unlock Chain Actually Progresses
The camp rolls out minigame content in waves, and each wave gates the next. The first playable contests arrive on Day 1 through Day 3 of the prologue, but the full roster only opens once you have raised your camp role and cooked enough meals to satisfy the cook-off judges. According to the official store page, the structure is built around daily sessions where you assign campers to activities on a planner, then play through the assigned minigames. Players report that this planner-based gating is the single biggest reason early runs feel short on variety.
The unlock chain is not just flavor. Each new contest stage increases the achievable daily bonus and feeds into the four cooking contest achievements: The Last Straw, In-pasta Syndrome, Much-room for Improvement, and Toasty!. Win all four and you earn Teamwork Makes the Mealwork, the meta achievement that signals full contest mastery. Treat every step below as a checkpoint, not a suggestion.
| Unlock Stage | Trigger | Unlocks | Score Bonus Effect |
|---|---|---|---|
| Stage 1 — Prologue Contests | Day 1–3, planner intro | Basic Chopping Contest + Tutorial Cooking | Sets baseline scores; no bonus |
| Stage 2 — Cook-off Open | Win first cooking contest | Farming Camp cooking ingredients recipes 1–5 | Unlocks Meal Bonus tier 1 |
| Stage 3 — Pest Wave | Reach camp role 2 | Farming Camp pest outbreak event minigame | Adds pest-clear bonus to score attack |
| Stage 4 — Full Contest Roster | Beat 3 of 4 cooking contests | All chopping variants + final recipe tier | Unlocks Meal Bonus tier 3 + Toasty! |
| Stage 5 — Mastery | All 4 cooking contest achievements | Teamwork Makes the Mealwork | Gold-tier run requirements open |
The Planner Is the Real Gate
The session trailer makes the planner explicit: activities are assigned to campers before the day begins, and the minigames you play are the ones you scheduled. If you skip planning, you will only see the prologue contests on repeat. Players who front-load the planner on Day 2 report hitting Stage 2 unlocks roughly 40% faster than those who improvise, because the planner triggers side tasks that the kitchen guide normally requires you to grind.
Why Score Attack Matters Earlier Than You Think
Score attack runs feel like a late-game luxury, but the farming camp minigame score attack track actually opens during Stage 2, the moment you finish the first cooking contest. Score attack is what feeds the Meal Bonus system, and the Meal Bonus is what pushes a silver plate into gold territory. Wait until Stage 4 to start chasing scores, and you will spend two real-time days catching up to players who used Stage 2 as a practice loop.
The Chopping Contest Stage and Timer Management
The chopping contest is the first minigame every new player meets, and it sets the tone for the rest of the unlock chain. The contest uses quick time events (QTEs) timed to a swinging axe, and the scoring band depends on how many clean hits you land before the timer runs out. The Steam achievement In-pasta Syndrome is technically a cooking trophy, but the chopping contest is what feeds your ingredient prep time, so it indirectly powers that achievement too.
Farming Camp timer management is the skill that decides this contest. The timer does not pause between rounds, and a missed QTE costs roughly 1.5 seconds of recovery window. That is enough to drop you a full score band if it happens twice in a row.
| Score Band | Hit Count (out of 12) | Time Remaining | Bonus Tier |
|---|---|---|---|
| Bronze | 6–7 | < 5s | 1.0x |
| Silver | 8–9 | 5–10s | 1.25x |
| Gold | 10–11 | 10–15s | 1.5x |
| Perfect | 12 | > 15s | 2.0x + Chopping Master flair |
Reading the Axe Swing, Not the Timer
The most common mistake players make in the chopping contest is staring at the countdown clock. The axe telegraph is a cleaner signal: a high arc means a slow, easy hit, while a low arc means a fast one. Tie your input to the swing, not the second, and you will land 10+ hits almost every run.
Stack Chopping with Cooking Runs
Chopping and cooking are the two minigames that share the most ingredients. If you have a farming camp kitchen guide habit of chopping during a cooking contest's prep window, you double-dip on the timer. Players who chain chopping right before a recipe uses chopped vegetables report finishing the cooking contest with 20% more time buffer than those who chop on its own slot.
Pest Outbreak Events and the Score Attack Window
The farming camp pest outbreak event is the second major unlock tier, and it is where score attack runs become profitable. Pest events are short, directional input bursts where you swipe at bugs running across crop rows. The minigame is short — most pest events wrap up in under 90 seconds — but each one drops a pest-clear bonus that feeds directly into the day's contest score.
Pest events are also the cleanest way to test farming camp minigame score attack habits. The timer is generous, but the directional inputs stack: missing a swipe costs a 0.1x penalty on that wave, and three misses in a row shut down the bonus entirely. Treat each wave as a fresh attempt and reset your focus between groups.
Pest Event Bonus Breakdown
| Pest Wave | Bug Count | Time Limit | Multiplier | Failure Penalty |
|---|---|---|---|---|
| Wave 1 | 8 | 25s | 1.0x | None (tutorial) |
| Wave 2 | 12 | 30s | 1.2x | Miss 4+ = lose 0.2x |
| Wave 3 | 16 | 35s | 1.5x | Miss 5+ = lose 0.3x |
| Bonus Wave | 20 | 40s | 2.0x | Miss 6+ = no bonus |
The bonus wave is what unlocks the Much-room for Improvement achievement path, because clearing it with full combo nets a Meal Bonus bump that bleeds into the next cooking contest. Players chasing the achievement should treat the bonus wave as a priority, even if it means skipping a low-value chop run.
Why Pest Events Pair With the Kitchen Guide
Pest events are not isolation minigames. The bugs you clear are attached to specific crop rows, and the crops that survive feed into your kitchen's ingredient stock. Following a proper farming camp cooking ingredients rotation after a pest event means you walk into the next cooking contest with bonus-tier ingredients already prepped. The kitchen guide effectively becomes a score attack amplifier once pest events are in the rotation. The full breakdown of this overlap, including how to time pest cycles against contest windows, is covered in the Farming Camp Minigame Guide.
Score Attack Strategy and Recipe Priorities
Score attack is the meta loop that ties chopping, pest events, and cooking into one economy. Each contest deposits a base score, and the Meal Bonus multiplies it. The bonus grows when you complete a recipe with the right ingredient tiers, and the right ingredients come from successful pest clears and chopping runs. The whole system is circular, and the best way to attack it is to treat the day as one big run rather than four separate contests.
The unlock path matters here because recipes gate the highest scores. According to the Steam achievements page, the four cooking contest trophies are tied to specific recipe families, and each family has its own scoring window. Players who memorized the recipe rotation for farming camp cooking ingredients before attempting the gold tier consistently finish the contest 3–5 seconds faster than those who re-read the recipe mid-run.
| Recipe Family | Unlock Source | Base Score | Meal Bonus Cap | Achievement Link |
|---|---|---|---|---|
| Starter Soups | Stage 2 cook-off | 800 | 1.5x | The Last Straw |
| Pasta Dishes | Stage 3 pest wave | 1,200 | 1.75x | In-pasta Syndrome |
| Baked Goods | Stage 4 full roster | 1,600 | 2.0x | Much-room for Improvement |
| Finale Platter | Stage 5 mastery | 2,200 | 2.5x | Toasty! |
Memorize Three Recipes, Not Twelve
The kitchen guide lists roughly a dozen recipes, but only four drive the achievement path. New players who try to memorize the full list end up fumbling mid-contest because the brain locks under timer pressure. Pick the three recipes that match the contest you are running, learn the ingredient order by heart, and rotate them in. The fourth recipe will unlock naturally once you have cleared the first three contests.
Use Practice Mode as a Score Attack Sandbox
Practice mode is the safest place to test farming camp minigame score attack combos. The session trailer calls it out directly, and players who spend 10 minutes in practice before a contest day report a 15% jump in their average score. Practice mode is not a separate unlock — it opens with the planner on Day 2 — but it is the single best tool for tightening timer management habits.
Recipe priorities during score attack are covered in the Farming Camp cooking challenge guide.
Timer Management Across the Full Contest Day
A contest day at Evertree runs roughly 12 in-game minutes, and the timer pressure is real. The chopping contest uses a hard countdown, pest events use wave timers, and cooking contests have a layered timer that changes depending on which recipe you picked. If you only optimize one of them, the others will eat your buffer. The best timer management strategy is to plan the day's order before the planner locks.
Players who consistently land on the gold tier of the cooking challenge share one habit: they front-load chopping, then run a pest event, then start the cooking contest with prep already done. That order uses the chopping contest as a warm-up, the pest event as a bonus generator, and the cooking contest as the payoff. Reverse the order, and the cooking contest's prep window will bleed into your pest clear time.
Daily Contest Run Order
| Step | Minigame | Approx. Time | Score Output | Prep for Next Step |
|---|---|---|---|---|
| 1 | Chopping Contest | 90s | Base + QTE bonus | Stockpiles chopped ingredients |
| 2 | Pest Outbreak Event | 90s | Bonus multiplier | Unlocks bonus-tier crops |
| 3 | Cooking Contest | 180s | Base + Meal Bonus | Spends stockpiled ingredients |
| 4 | Optional Score Attack Run | 60s | Daily bonus cap | Locks in the day's gold total |
The optional fourth run is what pushes a player into the top score band. Most players skip it because the day already feels long, but the score attack run is the cleanest way to hit the Teamwork Makes the Mealwork trigger, because it requires a fully mastered contest cycle.
What Timer Management Looks Like in Practice
A gold-tier player running the table above will finish Step 1 with about 10 seconds of timer left, Step 2 with a full bonus multiplier, and Step 3 with the Meal Bonus maxed. The whole day wraps in around 7 real minutes, and the score attack run in Step 4 just confirms the day's payout. If your Step 1 timer is below 5 seconds, slow down — the score band does not reward recklessness, and a bronze chop run will quietly cap your cooking contest score even if the recipe is perfect.
Frequently Asked Questions
What is the fastest way to unlock all Farming Camp minigame unlocks?
Focus on the planner from Day 2. The session trailer confirms that activities are assigned on the planner, and the planner gates the pest outbreak event and the full contest roster. Players who plan the day before it starts hit Stage 4 roughly two in-game days earlier than improvisers.
How does farming camp cooking ingredients rotation work with the chopping contest?
Chopped vegetables from the chopping contest feed into the kitchen's ingredient stock. The kitchen guide ties each recipe to a specific prep tier, and chopped ingredients unlock the second recipe tier. The farming camp cooking ingredients rotation is most efficient when you chop right before a recipe that needs that exact ingredient, because the prep window doubles as a timer warm-up.
Is the pest outbreak event worth farming for score attack?
Yes. The pest outbreak event drops a bonus multiplier that stacks into the cooking contest's Meal Bonus. Players running a full contest day clear at least one pest wave, and chasing the bonus wave is what unlocks the Much-room for Improvement achievement path, which is one of the four cooking trophies on the Steam achievement list.
How does timer management affect the chopping contest score bands?
The chopping contest timer has hard bands at 5, 10, and 15 seconds remaining. Each band boosts the score multiplier, with a perfect run at >15 seconds remaining awarding a 2.0x bonus. Missing two QTEs costs roughly 1.5 seconds of recovery time, which is enough to drop you an entire band if it happens twice in a row.
Can you max every achievement without playing score attack runs?
No. Score attack runs feed the daily bonus cap, and the daily bonus cap is what triggers the Teamwork Makes the Mealwork achievement. The achievement tracker on Steam shows that meta achievement sits at a low unlock percentage, which lines up with players who skip the optional score attack run in their contest day.