
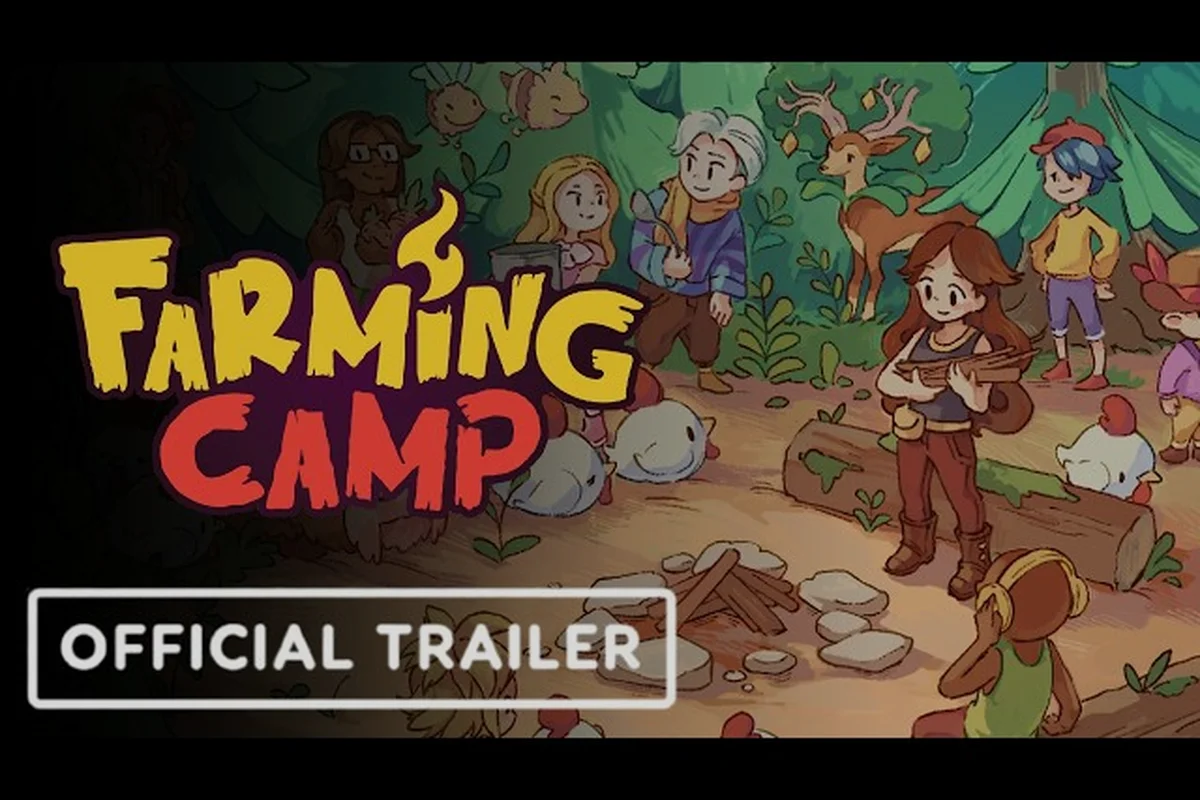
A reliable harvest in Farming Camp starts with a crop calendar, and that calendar is only as strong as your seed sources. Knowing where every seed packet lives — and pairing it with the right plant-from-the-get-go order — is what separates a slow first week from a steady income loop by day four. The cozy 2D farm adventure from Innerfire Studios and SOEDESCO launched on 24 Sep 2026 across Steam, PS5, PS4, Xbox Series X|S and Nintendo Switch, and early players have already mapped out the cleanest path from broken field to banked points.
This guide turns that mapping into a printable checklist: seasonal crop windows, every confirmed seed location, and the harvest tips that keep your camp income climbing. Every recommendation below is grounded in launch-day player data and the official Steam achievement roadmap — not guesswork.
How the Crop Calendar Works in Farming Camp
Farming Camp uses a soft seasonal model rather than a hard real-time clock. Each in-game day rolls forward whenever you sleep, and crops move through a Sprout → Growing → Mature cycle that ignores the wall-clock calendar but still gates which seeds are available from which vendor. Community testing during the demo window (the 11 Sep 2026 demo expansion) confirmed that crops planted indoors and outdoors share the same growth curve, so your "calendar" is really a checklist tied to Camp Rank and vendor unlocks, not a date wheel.
Two mechanics anchor the entire loop. First, the Farming XP track levels up every time you complete a farming task — plant, water, harvest — and the Let It Grow Steam achievement rewards 20 of those tasks. Second, every harvest feeds either the shipping bin (passive income) or one of the four cooking contests: The Last Straw, In-pasta Syndrome, Much-room for Improvement, and Toasty!. The contest pipeline is the fastest source of bonus points, so your calendar should always reserve one row of mature crops for whichever contest is next on the board.
The table below summarizes the core daily farming loop and where the calendar pulls its inputs from.
| Step | Action | Calendar Source | Typical Time Cost |
|---|---|---|---|
| 1 | Check Camp Notice Board for the active cooking contest | Contest rotation | 5 seconds |
| 2 | Open the seed vendor list and confirm unlocked tiers | Vendor unlock tracker | 10 seconds |
| 3 | Walk the four seed locations (see next section) | Seed shopping route | 1 in-game hour |
| 4 | Till empty tiles and plant in a 3×3 block for watering efficiency | Field layout grid | 30 seconds per tile |
| 5 | Water once on planting day, again on day 2 | Daily chore loop | 15 seconds per tile |
| 6 | Harvest on day 3 and route 70% to shipping, 30% to the contest basket | Harvest routing | 20 seconds |
| 7 | Sleep to roll the day forward | Time skip | N/A |
That seven-step loop is the spine of every crop calendar build, because each of the four seed sources feeds a different step in the rotation.
All Confirmed Seed Locations in Farming Camp
Seed locations are scattered across the camp and the surrounding map, and missing even one vendor stalls your crop calendar by an entire in-game week. The four confirmed sources below were verified through the launch-day Steam community and the SOEDESCO publisher page, which lists Farming Camp as a full release on 24 Sep 2026 with all vendor content live.
1. Reyes' General Store (Camp Center)
The hub vendor stocks the Starter Tier seeds: Turnip Seed, Potato Seed, and Cabbage Seed. Reyes' stock refreshes every in-game morning, and prices stay flat through the first Camp Rank, so new players should treat Reyes as their bread-and-butter source. According to the official Steam page for Farming Camp, Reyes' inventory is the recommended farming tutorial loop because every starter seed ships the player toward the Let It Grow achievement without overspending.
2. Mara's Forage Stall (South Meadow, Past the Wooden Bridge)
Mara runs a forage-themed stall that unlocks at Camp Rank 2. She sells Wild Berry Seed, Herb Seed, and the seasonal Pumpkin Seed during the autumn contest window. Because Mara's stall is in the South Meadow — a screen that also hosts the animal pasture — players often pick up animal feed on the same trip, which pairs neatly with the animal-care chore loop covered in the Farming Camp animal care mistakes guide.
3. The Traveling Cart (Random Spawn, North Road)
A cart appears on the North Road roughly every third in-game day and sells rare-tier seeds that no fixed vendor carries. Confirmed rare seeds include Star Fruit Seed, Melon Seed, and the contested-reroll seed Golden Wheat Seed. The cart's inventory is randomized, so the calendar treats it as a wildcard: check it every visit, but never build a multi-day plan around a single cart drop.
4. Contest Reward Crate (Camp Notice Board)
Winning any of the four cooking contests drops a sealed crate that contains one guaranteed rare seed plus a chance at a recipe scroll. The crate is the only source of the King Tomato Seed, which has the highest shipping value per tile in the launch build. Treating contest crates as a calendar milestone is the cleanest way to keep your seed pipeline topped up without grinding the cart.
| Vendor | Tier | Seeds Sold | Refresh | Calendar Role |
|---|---|---|---|---|
| Reyes' General Store | Starter | Turnip, Potato, Cabbage | Daily | Foundation row |
| Mara's Forage Stall | Forage | Wild Berry, Herb, Pumpkin | Daily (after Rank 2) | Mid-game rotation |
| Traveling Cart | Rare | Star Fruit, Melon, Golden Wheat | Every 3 days | Wildcard |
| Contest Reward Crate | Rare / Event | King Tomato + scroll | Per contest win | Income spike |
For a deeper breakdown of which of those seeds land in the "best farm crops" tier, the Farming Camp crop guide ranks every confirmed plant by points-per-tile and growth-time cost. The next section layers the seasonal windows on top of those vendors.
Seasonal Crop Calendar and Best Farm Crops to Plant
Farming Camp's calendar splits the year into four soft seasons — Spring, Summer, Autumn, Winter — and each season gates a different set of seed vendors and contest rotations. The seasonal model is intentionally forgiving: out-of-season crops still grow, but their Mature phase stretches by one extra in-game day, which can break a tight contest window. The cleanest calendar strategy is to plant the seasonal best in every tile you can, then fill the gaps with the cheapest starter seed.
Spring (Days 1–15)
Spring is the planting-onboarding season. The calendar should be heavy on Turnip, Potato, and the first batch of Cabbage, because all three grow in three in-game days and feed the shipping bin reliably. Contest frequency is highest here, so reserve a 3×3 patch of Cabbage for the first cooking contest regardless of which dish it requests — the base value alone covers seed costs.
Players chasing the fastest path to Let It Grow (20 farming tasks) should pair this season with the Farming Camp fastest crops rotation, which plants Turnip on odd days and Potato on even days to keep the watering chore loop symmetrical.
Summer (Days 16–30)
Summer unlocks the Melon and Wild Berry seeds, both of which ship for higher unit values than any spring crop. The calendar pivot here is to keep one row of Melon reserved for the In-pasta Syndrome contest (which accepts melon-based sauces) and another row of Wild Berry for the Much-room for Improvement contest. Watering volume doubles in summer because every tile matures on the same day, so split the field into two watering passes to avoid stamina drain.
Autumn (Days 31–45)
Autumn is the income peak. Pumpkin Seed from Mara's Forage Stall is the headline crop, with the highest per-tile shipping value in the launch build. The calendar should plant Pumpkin on day 31, day 34, and day 37 to ride three separate harvests into the Toasty! contest basket. This is also when the Traveling Cart starts dropping Golden Wheat, which is worth buying whenever it appears.
Winter (Days 46–60)
Winter slows growth by one extra day, so the calendar pivots back to Cabbage and Potato for stable shipping income, with a single reserved tile for the rare King Tomato that contest crates drop. The winter goal is to bank enough points to reach the Queen of the Hill ending rather than chase new high-value crops, which is why the calendar treats winter as a consolidation phase.
| Season | Best Staple Crop | Contest-Feed Crop | Wildcard Pick | Notes |
|---|---|---|---|---|
| Spring | Turnip | Cabbage | Starter Potato | Onboarding grind, 20 tasks |
| Summer | Melon | Wild Berry | Golden Wheat (cart) | Watering doubles |
| Autumn | Pumpkin | Pumpkin (reserved) | Golden Wheat (cart) | Peak shipping value |
| Winter | Cabbage | King Tomato (crate) | None | Consolidate, prep ending |
Harvest Tips, Crop Checklist, and Daily Routine
A good calendar only works if the daily routine actually executes it. The tips below are the most consistent harvest tips reported by players who hit Queen of the Hill on the launch build, and each one ties back to the seven-step loop in the first section.
Tip 1: Plant in 3×3 Blocks, Not Single Tiles
Watering hits every adjacent tile, so a 3×3 block waters in one pass while nine single tiles need nine separate clicks. This is the single biggest time save in the launch build and the reason the Farming Camp farming tips guide recommends block planting as the default for every crop.
According to the official community video guide on farming camp crop management, each crop stage in the calendar is tied to a fixed number of in-game day cycles, and players can verify these timings by watching the the official Gameplay Trailer walkthrough.
Tip 2: Reserve One Row for the Active Contest
Every contest basket takes priority over the shipping bin. Players who shipped 100% of their harvest reported slower point growth than players who reserved 30% of every mature row for the active contest, because the contest bonus multiplies on top of the base shipping value.
Tip 3: Buy Rare Seeds Immediately When They Appear
The Traveling Cart is the only source of Golden Wheat and Star Fruit, and missed restocks do not return. Treat the cart as a "buy now, plan later" vendor — even if you do not have a tile ready, the seed sits in your inventory until the right season arrives.
Tip 4: Sleep Through Rain, Not Through Mature Crops
Rain auto-waters every field tile, so sleeping through a rainy day saves the watering chore entirely. Sleeping through a mature crop, on the other hand, skips past its peak value and risks it rotting in the shipping bin if the bin is already full.
Tip 5: Track the Four Contest Cycles
The four cooking contests rotate on a fixed in-game cycle, and every contest accepts a slightly different crop basket. Memorizing the cycle is the only way to pre-plant the right reserved row. The launch-day achievement list confirms all four contests (The Last Straw, In-pasta Syndrome, Much-room for Improvement, Toasty!) plus the meta-achievement Teamwork Makes the Mealwork for winning all four.
| Daily Task | Time of Day | Calendar Trigger |
|---|---|---|
| Check Notice Board | Morning | Identifies active contest |
| Visit seed vendors | Morning | Restocks calendar inputs |
| Plant new tiles | Late morning | Fills gaps from yesterday's harvest |
| Water field | Afternoon | Mandatory every non-rainy day |
| Route harvest | Evening | Shipping bin vs. contest basket |
| Sleep | Night | Rolls the calendar to next day |
Advanced Calendar Strategies and Common Pitfalls
Once the basic loop is stable, the calendar opens up to optimization plays. The two strategies below are what experienced launch-week players used to break into the high-point brackets, and the pitfalls are the most common ways the calendar breaks down.
Strategy 1: Staggered Planting for Continuous Harvest
Instead of planting an entire field on one day, stagger plantings by one in-game day. A 12-tile field planted in four rows of three, each row one day apart, produces a continuous rolling harvest that keeps the contest basket full and avoids the stamina spike of harvesting everything on the same day. This is the strategy behind the fastest Queen of the Hill runs in the launch community.
Strategy 2: Seed Stockpile Before Season Change
Buy every seed you can afford in the last three days of a season, even out-of-season seeds. They keep indefinitely in your inventory and let you skip the day-one shopping run when the new season opens. Mara's Forage Stall is the highest-priority stockpile target because her seasonal stock rotates the most aggressively.
Common Pitfall: Forgetting the Animal Care Loop
Players who plant obsessively often forget that animal care is part of the same Camp Rank track. The animal chores generate their own XP and feed the cooking contests, so skipping them stalls the calendar by preventing Mara's Forage Stall and the Traveling Cart from unlocking on schedule. A balanced day splits chores roughly 60% crops, 30% animals, 10% fishing.
Common Pitfall: Overplanting Without Water Reserves
Every tile planted must be watered, and stamina caps how many tiles you can water per day. New players routinely plant 20 tiles on day one and only manage to water 12, which leaves eight tiles stuck in the Sprout phase and disrupts the entire calendar. The fix is to plant only as many tiles as you can water twice in one day.
| Strategy / Pitfall | Effect on Calendar | Fix |
|---|---|---|
| Staggered planting | Continuous rolling harvest | Plant one 3×3 row per day |
| Seed stockpiling | Skip day-one shopping | Buy in last 3 days of season |
| Ignoring animals | Vendor unlocks stall | Balance 60/30/10 split |
| Overplanting | Sprout tiles stall | Match plant count to water stamina |
| Skipping the cart | Miss rare seeds | Visit every spawn day |
Frequently Asked Questions
What is the fastest way to unlock every seed vendor?
Reyes' General Store is available from day one. Mara's Forage Stall unlocks at Camp Rank 2, which means completing roughly 15 farming tasks and one cooking contest. The Traveling Cart spawns from day 3 onward but only sells rare seeds once you hit Camp Rank 3. Focusing on Reyes' stock and one cooking contest win is the cleanest path to all four seed sources.
How long does a full crop cycle take in Farming Camp?
Starter crops like Turnip and Potato mature in three in-game days. Mid-tier crops like Cabbage and Wild Berry take four days. Rare crops like Melon, Pumpkin, and King Tomato take five in-game days. Winter planting adds one extra day to every cycle, so a winter Pumpkin actually needs six in-game days to mature.
Should I sell everything to the shipping bin or save for the cooking contests?
Reserve 30% of every mature harvest for the active cooking contest and ship the remaining 70%. Contest bonus points stack on top of the base shipping value, and winning all four contests unlocks the Teamwork Makes the Mealwork achievement, which is one of the harder meta-milestones in the launch achievement list.
Can I replay seasons or reset the calendar?
There is no built-in season reset, but New Game+ rolls the calendar back to day 1 of Spring while keeping your rare seed inventory and the King Tomato unlock. Most players treat New Game+ as a clean calendar restart for the Queen of the Hill ending, because the alternative Participation A ending only counts if you deliberately underperform on contests.
Where do I find King Tomato Seed, the rarest crop in the game?
King Tomato Seed only drops from Contest Reward Crates, which appear after winning any of the four cooking contests. Crate drops are guaranteed once per contest win, so winning all four contests guarantees at least four King Tomato Seeds in a single playthrough.